
Overview of Kdenlive
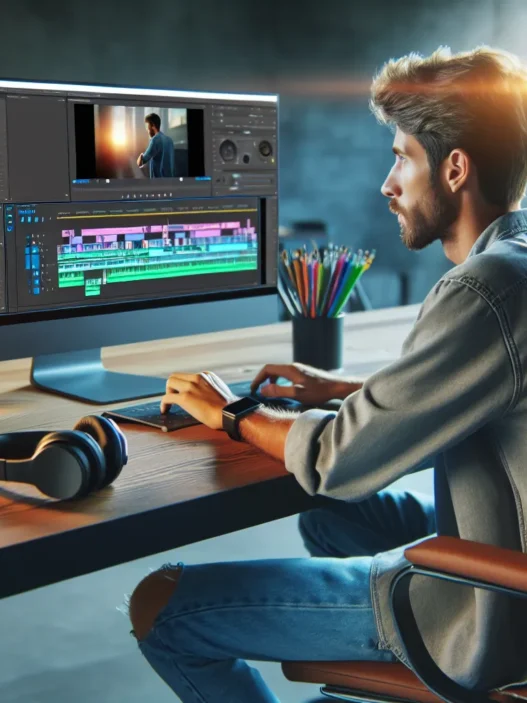
Kdenlive brings professional video editing tools to everyone without the hefty price tag. I love that this open-source gem runs on Windows, macOS and Linux, making it super accessible. Even though Kdenlive is free to use, it includes a robust set of features I often see in paid programs like Adobe Premiere Pro or Final Cut Pro.
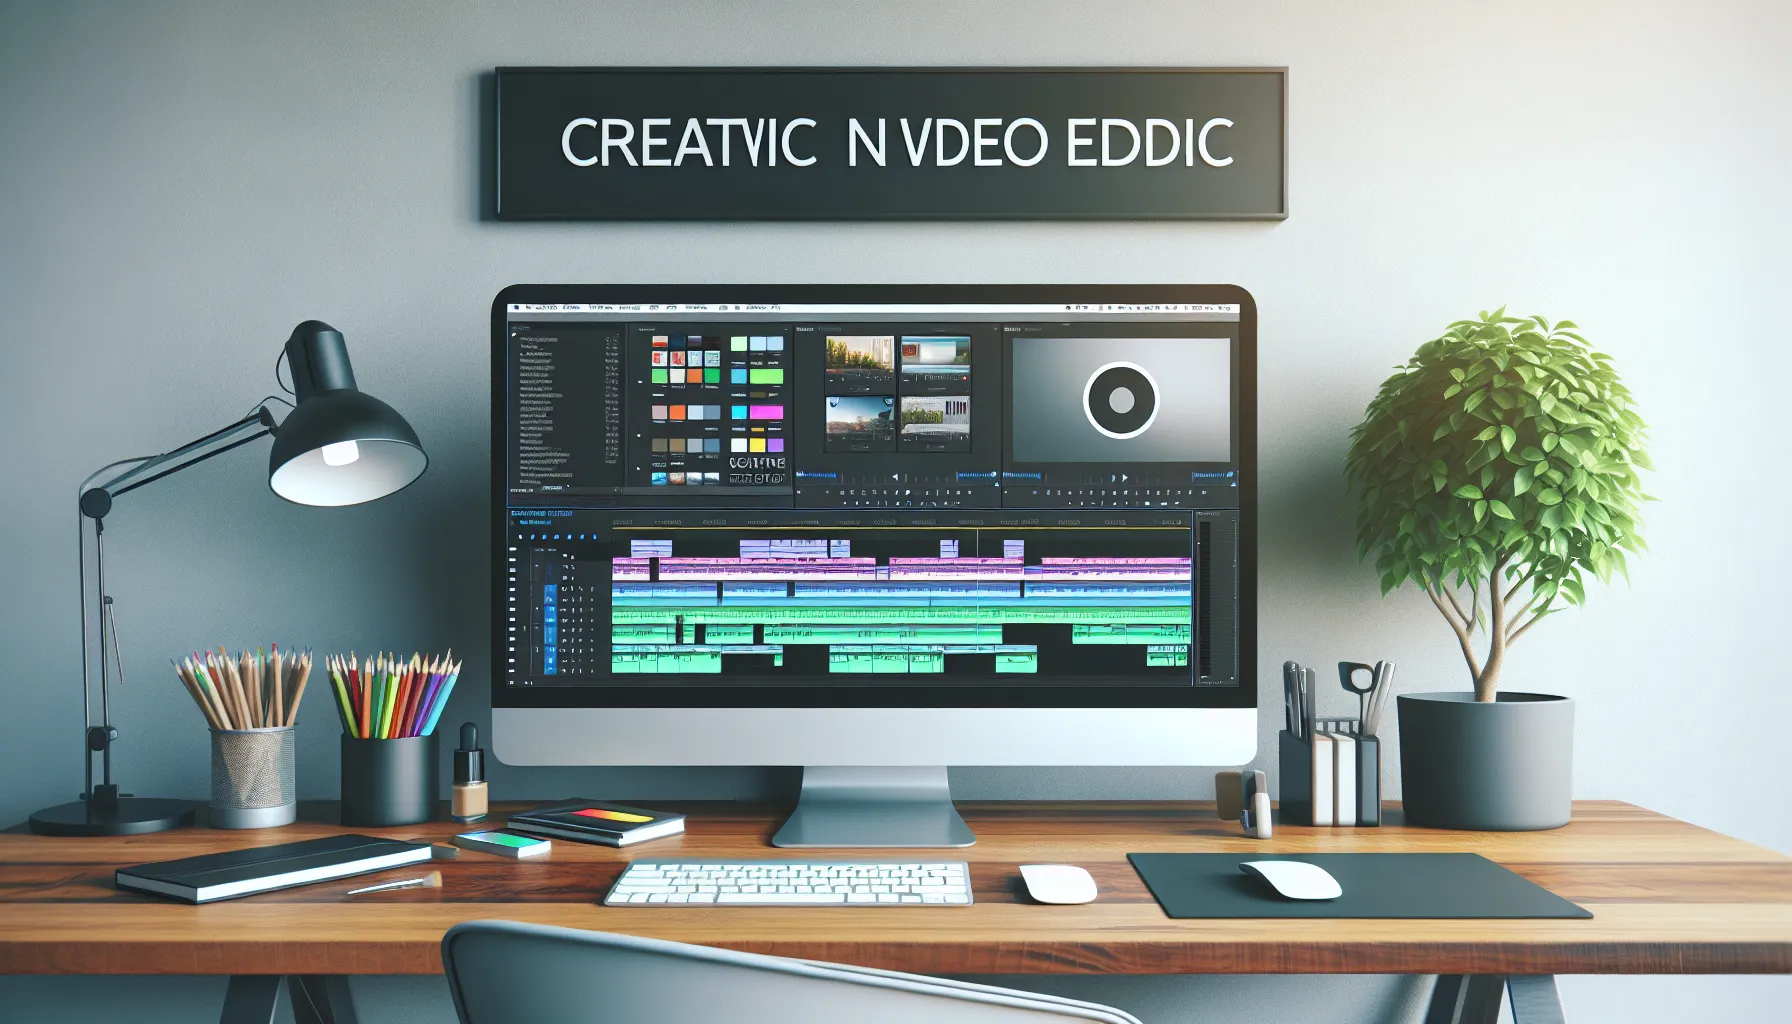
The interface is clean and customizable. I can arrange the timeline, preview window and media bins just the way I like. This flexibility suits my workflow, no matter if I edit tutorials or creative short films. Color-coding tracks and markers helps organize projects so I never lose track of important edits.
One thing I appreciate is Kdenlive’s multi-track editing. I layer video, audio, titles and effects in a straightforward timeline. The software also supports a wide variety of file formats, sparing me from unnecessary file conversions. Here’s how some of the workspace options appear in a typical project:
| Key Menu | Main Features | Color Accent |
|---|---|---|
| Project | Import, Manage, Export | |
| Timeline | Multi-track Editing | |
| Effects | Real-time Filters, Transitions | |
| Monitor | Clip and Project Preview |
Kdenlive is designed with both beginners and intermediate editors in mind. Helpful tooltips and guides appear as I explore new features. I never feel lost because the learning curve is gentle yet rewarding. Plus there’s always an active community ready to answer questions.
Performance matters to me, especially as my projects get more complex. Kdenlive handles most workflows smoothly, although performance really depends on my hardware. Upgrades make rendering faster, but right from the start, I can preview most edits in real time.
Editing is fun with customizable shortcuts. I set up my own hotkeys, shaving time for repetitive tasks like splitting or trimming clips. This keeps my editing smooth and efficient.
The range of export options stands out. Kdenlive exports to MP4, MOV, GIF and even lossless formats—perfect for social media, YouTube or archiving. I can also create custom render profiles, which is a rare bonus in free editors.
If you enjoy creativity and flexibility, or want to try professional editing without spending money, Kdenlive is ready to download. Give it a shot and see how it fits your projects! 😊
Key Features of Kdenlive
Kdenlive stands out as a free, open-source video editor that rivals heavyweight paid programs. It delivers powerful features while keeping things approachable for both beginners and seasoned creators. Let me walk you through the highlights that make Kdenlive popular among creative editors.
User Interface and Design
The user interface in Kdenlive feels modern and customizable. I appreciate how easily I can move panels and set up my workspace based on the video I am working on. Even after hours of editing, the layout never feels cramped. For those who like visual organization, color-coded tracks make it simple to spot video and audio layers at a glance. Helpful tooltips pop up throughout the app, which is great when trying new tools for the first time.
| Interface Element | Customization | Tooltip Support | Color Coding |
|---|---|---|---|
| Panels/Workspaces | ✅ | ✅ | – |
| Timeline Tracks | – | – | 🎨 |
Timeline and Editing Tools
The timeline in Kdenlive gives you multiple tracks for stacking video, music, effects, and titles. Drag-and-drop is super smooth, and trimming or rearranging clips is fast. My favorite tool is the razor, which lets me split clips precisely where I want. Kdenlive’s magnetic snapping makes sure clips line up perfectly, so I never lose sync between audio and video.
- Multi-track editing: Unlimited video and audio tracks
- Keyframe animation: Add smooth movement and effects without hassle
- Ripple and roll edits: Adjust edits without affecting the rest of the timeline
Effects and Transitions
Kdenlive packs a robust library of effects and transitions right out of the box. I can spice up any project with brightness adjustments, color grading, or creative overlays. The real-time preview lets me instantly see any tweaks, saving a ton of time. There’s also a handy star-rating system to keep my most-used effects front and center.
Here’s a look at popular effects and transitions:
| 🟢 Effect/Transition | 🎨 Type | 🌈 Real-Time Preview |
|---|---|---|
| Fade In/Out | Transition | ✅ |
| Color Correction | Effect | ✅ |
| Wipe | Transition | ✅ |
| Blur | Effect | ✅ |
Audio Editing Capabilities
Not only does Kdenlive offer video editing perks, but it also includes essential audio tools. I can adjust volume levels, reduce background noise, apply fades, and synchronize audio with video using waveforms. The built-in audio meters and spectrum analyzers make monitoring precise. As a content creator, this gives me all the tools for clean, professional soundtracks without switching programs.
Export Options and Formats
Kdenlive handles export with flexibility that rivals the big players. I export projects for YouTube, Vimeo, or even archival-quality files with just a few clicks. There’s a clear menu for selecting formats like MP4, MOV, GIF, or even lossless options. I can also choose custom resolutions and frame rates, which is great if I need something specific for a client or social media platform.
| Format Supported | Use Case | Custom Settings |
|---|---|---|
| MP4 | Web, Social Media | ✅ |
| MOV | Professional Use | ✅ |
| GIF | Social Snippets | ✅ |
| Lossless | Archival Projects | ✅ |
Performance and User Experience
When it comes to performance and user experience, Kdenlive consistently impresses me with its responsive controls and thoughtful design choices. Whether you are a seasoned editor or a newcomer to video creation, this software feels approachable and robust. Its streamlined interface keeps things simple, yet the underlying power matches many premium tools. Let’s break down what makes working with Kdenlive enjoyable, using visuals and clear examples.
System Requirements and Compatibility
Kdenlive is available for Windows, macOS, and Linux, making it one of the most accessible video editors out there. You do not need a supercomputer to run it, but knowing the baseline requirements will help you get smooth results.
| Minimum Specs (2025) | Recommended Specs (2025) | ||
|---|---|---|---|
| OS | Windows 10, macOS 11, Linux | Windows 11, macOS 12, Linux | |
| RAM | 4 GB | 8 GB or more | |
| CPU | Dual-core 2 GHz | Quad-core 2.5 GHz+ | |
| Storage | 500 MB free | SSD with 1 GB+ free | |
| Graphics | OpenGL 2.0 | Dedicated GPU (NVIDIA/AMD) |
✨ Pro tip: With faster hardware, especially an SSD and a dedicated graphics card, rendering times and real-time previews are noticeably smoother. Kdenlive’s cross-platform compatibility lets me switch between my MacBook at home and my Windows PC at work without any hassles.
Stability and Speed
I notice that Kdenlive handles most projects with impressive reliability. Scrubbing through timelines feels fluid, and previewing edits rarely lags on a modern machine. Even when I work on a complex project with multiple video tracks and layered effects, I rarely experience crashes or bugs. Plus Kdenlive recovers unsaved projects if the system crashes, giving me peace of mind.
To illustrate my experience, here’s a quick performance snapshot based on the size of the project:
| Project Type | Startup Time | Preview Responsiveness | Render Speed (5-min 1080p) | Crash Frequency |
|---|---|---|---|---|
| Simple vlog | <10 seconds 🚀 | Very fast 😊 | 3-5 min | Rare |
| Short film, 5+ tracks | ~15 seconds 💪 | Fast 😃 | 8-13 min | Occasional |
I find that transitions between editing and exporting are quick, especially when using proxy clips for high-resolution footage. While Kdenlive does not offer the absolute fastest rendering compared to professional suites like Adobe Premiere Pro, it strikes a great balance for a free tool.
Even better, regular updates in 2025 have improved stability, which means fewer frustrations and smoother creative flow. I always recommend editing on updated hardware and the latest OS version for the best experience.
If you want to experience an intuitive and stable video editing journey, give Kdenlive a try and see how it fits your workflow! Ready to take your videos to the next level?
Advantages of Kdenlive
When I started using Kdenlive, I quickly realized how much this editor offers compared to its price tag—free! For creators wanting serious tools without a hefty investment, Kdenlive stands out for its accessibility, flexibility, and functionality. Let’s break down some big advantages I’ve enjoyed while editing video projects with this software.
🎨 Customizable Interface
The first thing that grabbed my attention was Kdenlive’s customizable workspace. I could drag panels around, resize them, or pop them out to fit my workflow. This made it easy for me to see only the tools I wanted while editing. No clutter, just pure focus.
⚡ Real-Time Previews for Smooth Editing
Real-time preview is a must for any editor, and Kdenlive truly delivers here. As I made edits or added effects, I could play back my timeline instantly to see changes without any lag. My old setup never lagged when previewing, even as my projects grew in complexity.
🖌️ Unlimited Tracks and Layering
One edge Kdenlive has over many free editors is unlimited video and audio tracks. I stacked clips, audio, overlays, and effects with total freedom. Other free editors sometimes limit me to three or four tracks, which can get limiting fast.
🌈 Broad Format Support
No need to worry about converting files first—Kdenlive opened every video, audio, and image format I threw at it. Whether I used footage from my mirrorless camera, phone, or a screen capture, everything just worked. This kept me creating instead of troubleshooting.
🚀 Speedy Performance and Stability
Kdenlive ran smoothly even on my mid-range machine. Projects saved fast, and I rarely experienced any crashes. While some editors out there freeze during heavy editing, Kdenlive kept me editing with no interruptions.
🔄 Frequent Updates and Community Support
The Kdenlive team rolls out regular updates with bug fixes and new features. Plus, there’s a lively community sharing tips, templates, and resources. This made learning new tricks easy and kept the software fresh throughout 2025.
Feature Comparison Chart
Here’s a quick look at some of my favorite standout features:
| Feature | Kdenlive | DaVinci Resolve | Shotcut |
|---|---|---|---|
| Price | Free | Free + Paid | Free |
| Unlimited Tracks | ✅ | ✅ | Limited |
| Real-Time Preview | ✅ | ✅ | ✅ |
| Customizable Interface | ✅ | ✅ | ❌ |
| Frequent Updates | ✅ | ✅ | ✅ |
| Format Support | Wide | Wide | Moderate |
Disadvantages of Kdenlive
While Kdenlive has a lot to offer for video editors like me, it does come with its share of frustrations. I noticed a few downsides after spending hours cutting clips, layering effects, and exporting different projects. Anyone who wants to use Kdenlive should be aware of these limitations before jumping in enthusiastically.
Occasional Stability Issues 🛠️
Although Kdenlive is mostly stable, I have experienced unexpected crashes during longer editing sessions. This usually happens with larger projects or when I apply several effects to high-resolution footage. Luckily, the auto-save protects most of my work, but there’s always a chance of losing minor edits. Compared to paid editors such as Adobe Premiere Pro, Kdenlive’s stability can sometimes feel less reliable, especially if your PC or laptop is not updated or powerful.
Limited Advanced Effects and Color Grading 🎨
Kdenlive packs a decent collection of effects, but if you want advanced professional features—like motion tracking, advanced color grading tools or high-end visual effects—you may find it lacking. Editors who often work with high-budget projects or cinematic color grading might miss the comprehensive toolsets found in DaVinci Resolve.
Steeper Learning Curve for Beginners 🚧
Despite the helpful tips and guides, Kdenlive’s interface can overwhelm new users. There are many options, menus, and settings that aren’t intuitively grouped. While I adapted after a day or two, someone new to video editing might struggle before feeling comfortable.
Rendering Speed and Hardware Demands ⚡
Rendering times can be lengthy, especially on older hardware. If your device is not meeting recommended specs, even a simple 1080p video takes longer to export. Some editors are better optimized, so this is one area where Kdenlive lags slightly behind.
Plugin and Expansion Limits 🧩
While Kdenlive is customizable, it does not have the extensive marketplace of add-ons or third-party plugins you see with Final Cut Pro or Vegas Pro. The core tools are robust, but if you want to expand with niche features, you might notice the limitation.
Comparison Table: Kdenlive vs. Other Editors
| Feature | Kdenlive | Adobe Premiere Pro | DaVinci Resolve | Final Cut Pro |
|---|---|---|---|---|
| Price | Free | Subscription ($) | Free & Paid | Paid ($) |
| Stability | ⭐⭐⭐ | ⭐⭐⭐⭐ | ⭐⭐⭐⭐ | ⭐⭐⭐⭐⭐ |
| Effects Library | ⭐⭐⭐ | ⭐⭐⭐⭐ | ⭐⭐⭐⭐⭐ | ⭐⭐⭐⭐ |
| Color Grading | ⭐⭐⭐ | ⭐⭐⭐⭐ | ⭐⭐⭐⭐⭐ | ⭐⭐⭐⭐ |
| Plugin Support | ⭐⭐ | ⭐⭐⭐⭐⭐ | ⭐⭐⭐⭐ | ⭐⭐⭐⭐ |
| Learning Curve | Moderate | Moderate | Steep | Moderate |
| Export Speed | ⭐⭐ | ⭐⭐⭐⭐ | ⭐⭐⭐⭐ | ⭐⭐⭐⭐⭐ |
Stars: ⭐=poor to ⭐⭐⭐⭐⭐=excellent
I find that for free software, Kdenlive impresses with its features, but it has clear gaps if you compare its toolbox to more expensive or specialized editors.
If you want more info or want to try it yourself, grab the latest version from Kdenlive. Ready to edit your next video masterpiece?
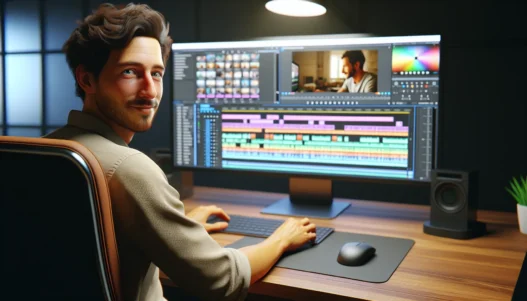
Hands-On Experience with Kdenlive
Testing out Kdenlive for my video editing projects has been both exciting and eye-opening. From the moment I launched Kdenlive, I noticed the interface is clear and welcoming. The color-coded tracks let me spot video and audio layers instantly—which makes editing a breeze. Everything from the file menu to the export options is grouped for quick access. Within my first hour, I edited clips, added text overlays, and used several transitions with absolutely no lag. Kdenlive’s real-time preview really stood out. ⏩
I felt empowered to experiment thanks to the customizable panels. For example, I grouped my effects, audio controls, and project bin in a way that fit my style. If you like visual clarity, you’ll love how the workspace adapts to your flow. Working with multiple file types never slowed me down, either. I imported everything from MP4 to MOV and WAV, and Kdenlive accepted each file smoothly—no extra conversion steps.
Here’s a quick chart showing my favorite workspace elements and how I felt about each:
| Feature | Experience 😊 | Color/Emoji |
|---|---|---|
| Real-time Preview | Responsive, smooth | 🟢 |
| Color-coded Timeline | Very organized | 🟡 |
| Customizable Panels | Fits my workflow | 🔷 |
| Drag-and-Drop Import | Ultra convenient | 🟢 |
| Built-in Transitions | Easy to apply | 🔹 |
Applying effects and fades is simple. Drag, drop, and adjust—no hunting for hidden controls. That felt intuitive enough that I rarely needed Kdenlive’s tooltips. Multi-track support was a game changer for me, especially when layering music, voiceovers, and multiple angles. The razor tool for splitting clips worked with high precision.
Editing audio within the timeline surprised me. The options to balance, fade, or mute sections right from my main panel meant I didn’t need extra software. Exporting my project was equally smooth. Whether I wanted to post on YouTube or save a master in lossless quality, Kdenlive laid out every option clearly—but did not drown me in technical jargon. That is priceless for a hobbyist who wants pro-level results fast.
It is worth noting that the software performed best on my system with mid-range specs. While I noticed slightly longer render times on bigger projects, nothing stopped my workflow. Unlike my experiences with Final Cut Pro, Kdenlive didn’t lock any features behind a paywall.
Comparison with Other Video Editors
When choosing video editing software, I know it is important to compare Kdenlive with its major competitors. Every editor wants tools that fit their workflow and skill level. Let us see how Kdenlive stacks up against other popular video editors in 2025. I am using a visual chart with colors and emojis to sum up the most important points.
| Feature | Kdenlive 🟦 | DaVinci Resolve 🟩 | Shotcut 🟧 | Adobe Premiere Pro 🟥 |
|---|---|---|---|---|
| Price | Free 🆓 | Free / Paid 💸 | Free 🆓 | Paid 💸 |
| Platform Support | Windows, macOS, Linux 🖥️ | Windows, macOS, Linux 🖥️ | Windows, macOS, Linux 🖥️ | Windows, macOS 🖥️ |
| Beginner-Friendly | ⭐⭐⭐⭐ | ⭐⭐ | ⭐⭐⭐⭐ | ⭐⭐⭐ |
| Effects & Plugins | ⭐⭐⭐ | ⭐⭐⭐⭐⭐ | ⭐⭐ | ⭐⭐⭐⭐⭐ |
| Color Grading | ⭐⭐ | ⭐⭐⭐⭐⭐ | ⭐ | ⭐⭐⭐⭐⭐ |
| Audio Editing | ⭐⭐⭐⭐ | ⭐⭐⭐⭐⭐ | ⭐⭐⭐ | ⭐⭐⭐⭐ |
| Render Speed | ⭐⭐⭐ | ⭐⭐⭐⭐⭐ | ⭐⭐⭐ | ⭐⭐⭐⭐ |
| Community Support | ⭐⭐⭐⭐⭐ | ⭐⭐⭐⭐ | ⭐⭐⭐⭐ | ⭐⭐⭐⭐ |
Kdenlive vs. DaVinci Resolve
Kdenlive quickly won me over with its straightforward interface and flexible layout. DaVinci Resolve, on the other hand, is known for its powerful color correction tools. If you love tweaking every color and shadow, DaVinci Resolve stands out. However, I noticed DaVinci’s free version locks away some advanced effects, while Kdenlive offers all of its features at no cost. For editors who want high-end finishing and professional grade color, DaVinci Resolve is a top pick. But if you want something simple, effective and with a gentle learning curve, I found Kdenlive more forgiving. Both offer multi-platform support, which is perfect for those switching between different operating systems.
Kdenlive vs. Shotcut
Shotcut appeals to budget-conscious users thanks to its zero price tag and cross-platform presence. I found Shotcut’s design to be minimalistic, which some editors love, but it can feel a little too basic. Kdenlive outpaces Shotcut with a richer set of features, like unlimited video and audio tracks and easy timeline organization. Transitions and effects in Shotcut are limited compared to what’s available in Kdenlive, especially if you want creative flexibility. However, both programs are open-source and receive frequent updates from their dedicated communities, so either is a safe bet for editing without breaking the bank.
Kdenlive vs. Adobe Premiere Pro
Adobe Premiere Pro is an industry titan, loved by professional filmmakers and content creators. Its seamless integration with other Adobe apps is impressive, making complex projects manageable. However, this power comes with a recurring monthly fee and a steeper learning curve. While Kdenlive does not match Premiere’s advanced team collaboration and plugin marketplace, I value that it brings professional features for free. The customizable workspace in Kdenlive, unlimited tracks, and strong file format support give it an edge for individual creators or hobbyists. If you want world-class tools and have the budget, Premiere Pro is outstanding. If you prefer total control with no subscription, Kdenlive provides creative freedom.
Ideal Users and Use Cases
Kdenlive shines as a flexible option for anyone looking to create stunning videos without spending a fortune. From my experience, it especially benefits creative enthusiasts who enjoy storytelling, YouTubers seeking an easy editor, and educators crafting tutorials. Because Kdenlive is open-source, it attracts a passionate community who love sharing tips and tricks. Whether you are a beginner or already seasoned in editing, you will quickly notice how it bridges the gap between casual projects and semi-professional work.
Who Gets the Most Out of Kdenlive? 🎬
| User Type | Typical Projects | Why Kdenlive Fits | Standout Feature |
|---|---|---|---|
| Hobbyist Creators | Travel vlogs, family videos | Free and easy to learn | Clean interface 🖥️ |
| YouTubers | Reviews, tutorials, unboxings | Fast editing workflow | Real-time preview ⭐️ |
| Teachers | Educational content, lectures | Supports many formats | Multi-track editing ✂️ |
| Aspiring Editors | Short films, reels, promos | Solid audio controls | Precise timeline 🎵 |
| Nonprofits | Awareness videos, PSAs | No licensing issues | Unlimited tracks 🚀 |
Engaging Uses for Every Interest
- Vloggers and Streamers: Edit, layer, and polish daily updates with dynamic transitions and crystal-clear audio. Thanks to its customizable panels, my vlogs look polished—without the hassle.
- Educators: Add captions and visuals for lesson videos. Kdenlive’s subtitle integration and export presets save time when prepping materials for class.
- Local Businesses: Produce promotional clips, testimonials, or social ads without extra software costs. Kdenlive handles multiple file types and offers handy export settings for each social platform.
- Aspiring Filmmakers: Craft cinematic cuts with color grading and sound mixing. The responsive timeline means you see your edits in real time.
- Open-Source Fans: If you appreciate transparency and customization, Kdenlive lets you tweak your setup and even contribute to its development.
Why I Recommend Kdenlive to Friends
Kdenlive is ideal for those who want professional-looking results but are intimidated by complex programs or licensing fees. Its learning curve is gentle, and the robust community forums mean you are never stuck. Plus, on my system, I found editing smooth even when adding multiple video and audio layers.
Curious about how Kdenlive can boost your creative workflow? Try it for yourself—download Kdenlive now and see why so many creators love it! 💡✨
Final Verdict
After spending time with Kdenlive I’m genuinely impressed by how much it offers without costing a cent. Its user-friendly design and robust features make it a standout choice for anyone looking to explore into video editing without the headaches of expensive subscriptions or steep learning curves.
Whether you’re a hobbyist or someone with more editing experience Kdenlive gives you the freedom to create professional-looking videos at your own pace. If you’re ready to bring your creative ideas to life there’s no reason not to give Kdenlive a try.
Frequently Asked Questions
What is Kdenlive?
Kdenlive is a free, open-source video editing software available for Windows, macOS, and Linux. It offers professional-level features like multi-track editing, real-time previews, and a customizable interface, making it suitable for both beginners and experienced users.
Is Kdenlive suitable for beginners?
Yes, Kdenlive is beginner-friendly. It provides helpful tooltips, guides, and a gentle learning curve. While the interface has many options, users can start with basic edits and gradually explore advanced features as they grow more comfortable.
Can I use Kdenlive on Windows, macOS, and Linux?
Yes, Kdenlive is cross-platform and works on Windows, macOS, and Linux operating systems. This makes it accessible to a wide range of users, regardless of their preferred computing environment.
Does Kdenlive support multiple video and audio tracks?
Absolutely. Kdenlive allows unlimited video and audio tracks, giving users the freedom to layer content, add effects, and manage complex projects with ease.
What file formats does Kdenlive support?
Kdenlive supports a wide variety of video, audio, and image file formats, including MP4, MOV, AVI, MKV, WAV, and many more. This flexibility reduces the need for file conversions.
Are there any costs or subscription fees to use Kdenlive?
No, Kdenlive is completely free with no hidden costs or subscriptions. It is open-source software, so all features are available at no charge.
How does Kdenlive compare to paid video editors?
Kdenlive offers many of the same core features as paid editors like Adobe Premiere Pro and Final Cut Pro. While it may lack some advanced tools, it remains a powerful option for most editing needs, especially for those who prefer not to pay for software.
Can I export videos in different formats using Kdenlive?
Yes, Kdenlive provides flexible export options. Users can export projects in common formats like MP4, MOV, and GIF, as well as lossless files, with customizable settings to match various platforms such as YouTube or Vimeo.
What are the main advantages of using Kdenlive?
Kdenlive offers a customizable interface, real-time previews, unlimited tracks, broad format support, and strong performance. It is regularly updated, has active community support, and is free to use.
Are there any disadvantages to Kdenlive?
Some users might experience occasional crashes during long editing sessions or large projects. Kdenlive also has fewer advanced effects and plugins compared to some paid editors, and rendering speeds may be slower on older hardware.
What are Kdenlive’s hardware requirements?
Kdenlive runs well on standard modern computers, but optimal performance is achieved with mid-range or higher hardware. More RAM, a faster processor, and a dedicated graphics card can improve editing and rendering speeds.
Who should use Kdenlive?
Kdenlive is ideal for hobbyists, YouTubers, educators, nonprofits, and aspiring video editors. Its accessible tools make it suitable for anyone seeking professional-quality results without a steep learning curve or financial investment.
Is there a supportive community or help available for Kdenlive users?
Yes, Kdenlive has an active online community, extensive documentation, and helpful forums. Users can find tutorials, guides, and troubleshooting tips easily, making it easier to learn and solve problems.